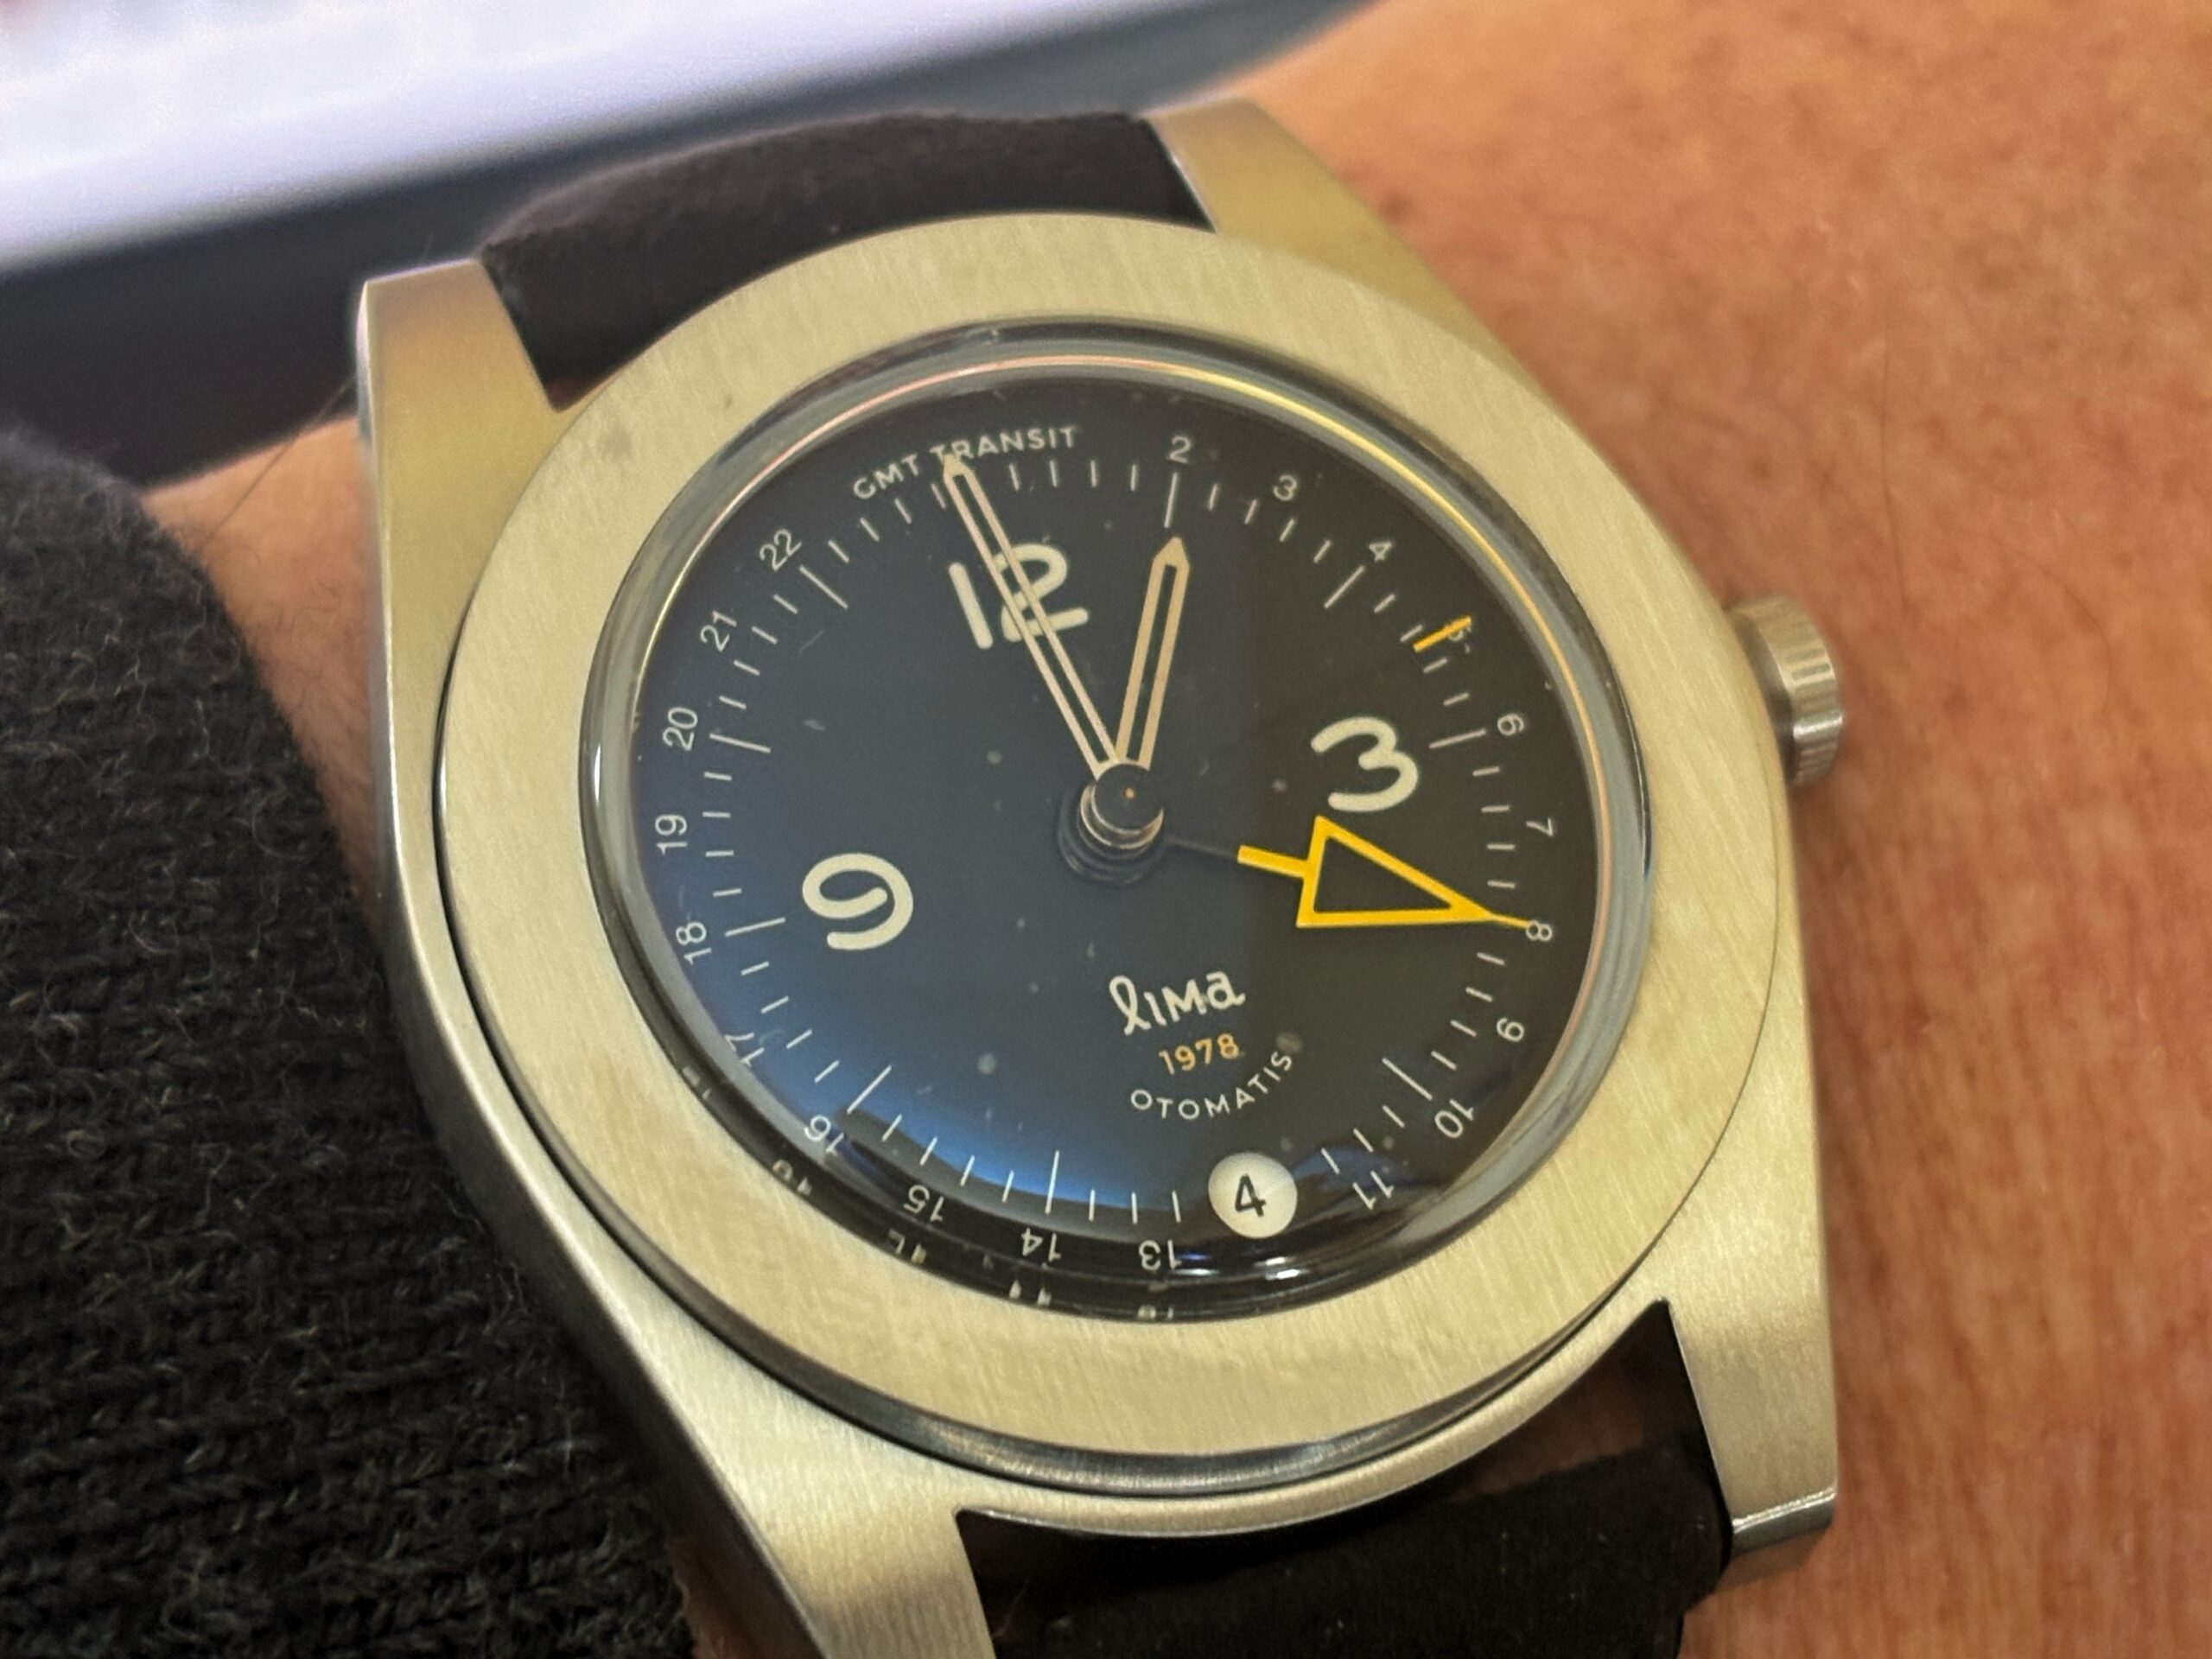
Lima Transit GMT
Graphic designer Herman Tantriady founded Lima Watch in 2014, in Indonesia. Despite more than a decade in business, online mentions of Lima are rare. I heard about the company in…
Graphic designer Herman Tantriady founded Lima Watch in 2014, in Indonesia. Despite more than a decade in business, online mentions of Lima are rare. I heard about the company in…
Homage watches, which are generally less expensive (or cheap) lookalikes of well-known watches, aren't really my bag. Not to say that there aren't some good values in homages, but I…
Need is too strong a word for my interest in a watch with a GMT complication. Want, yes. I mean, with all my traveling between time zones it would be…
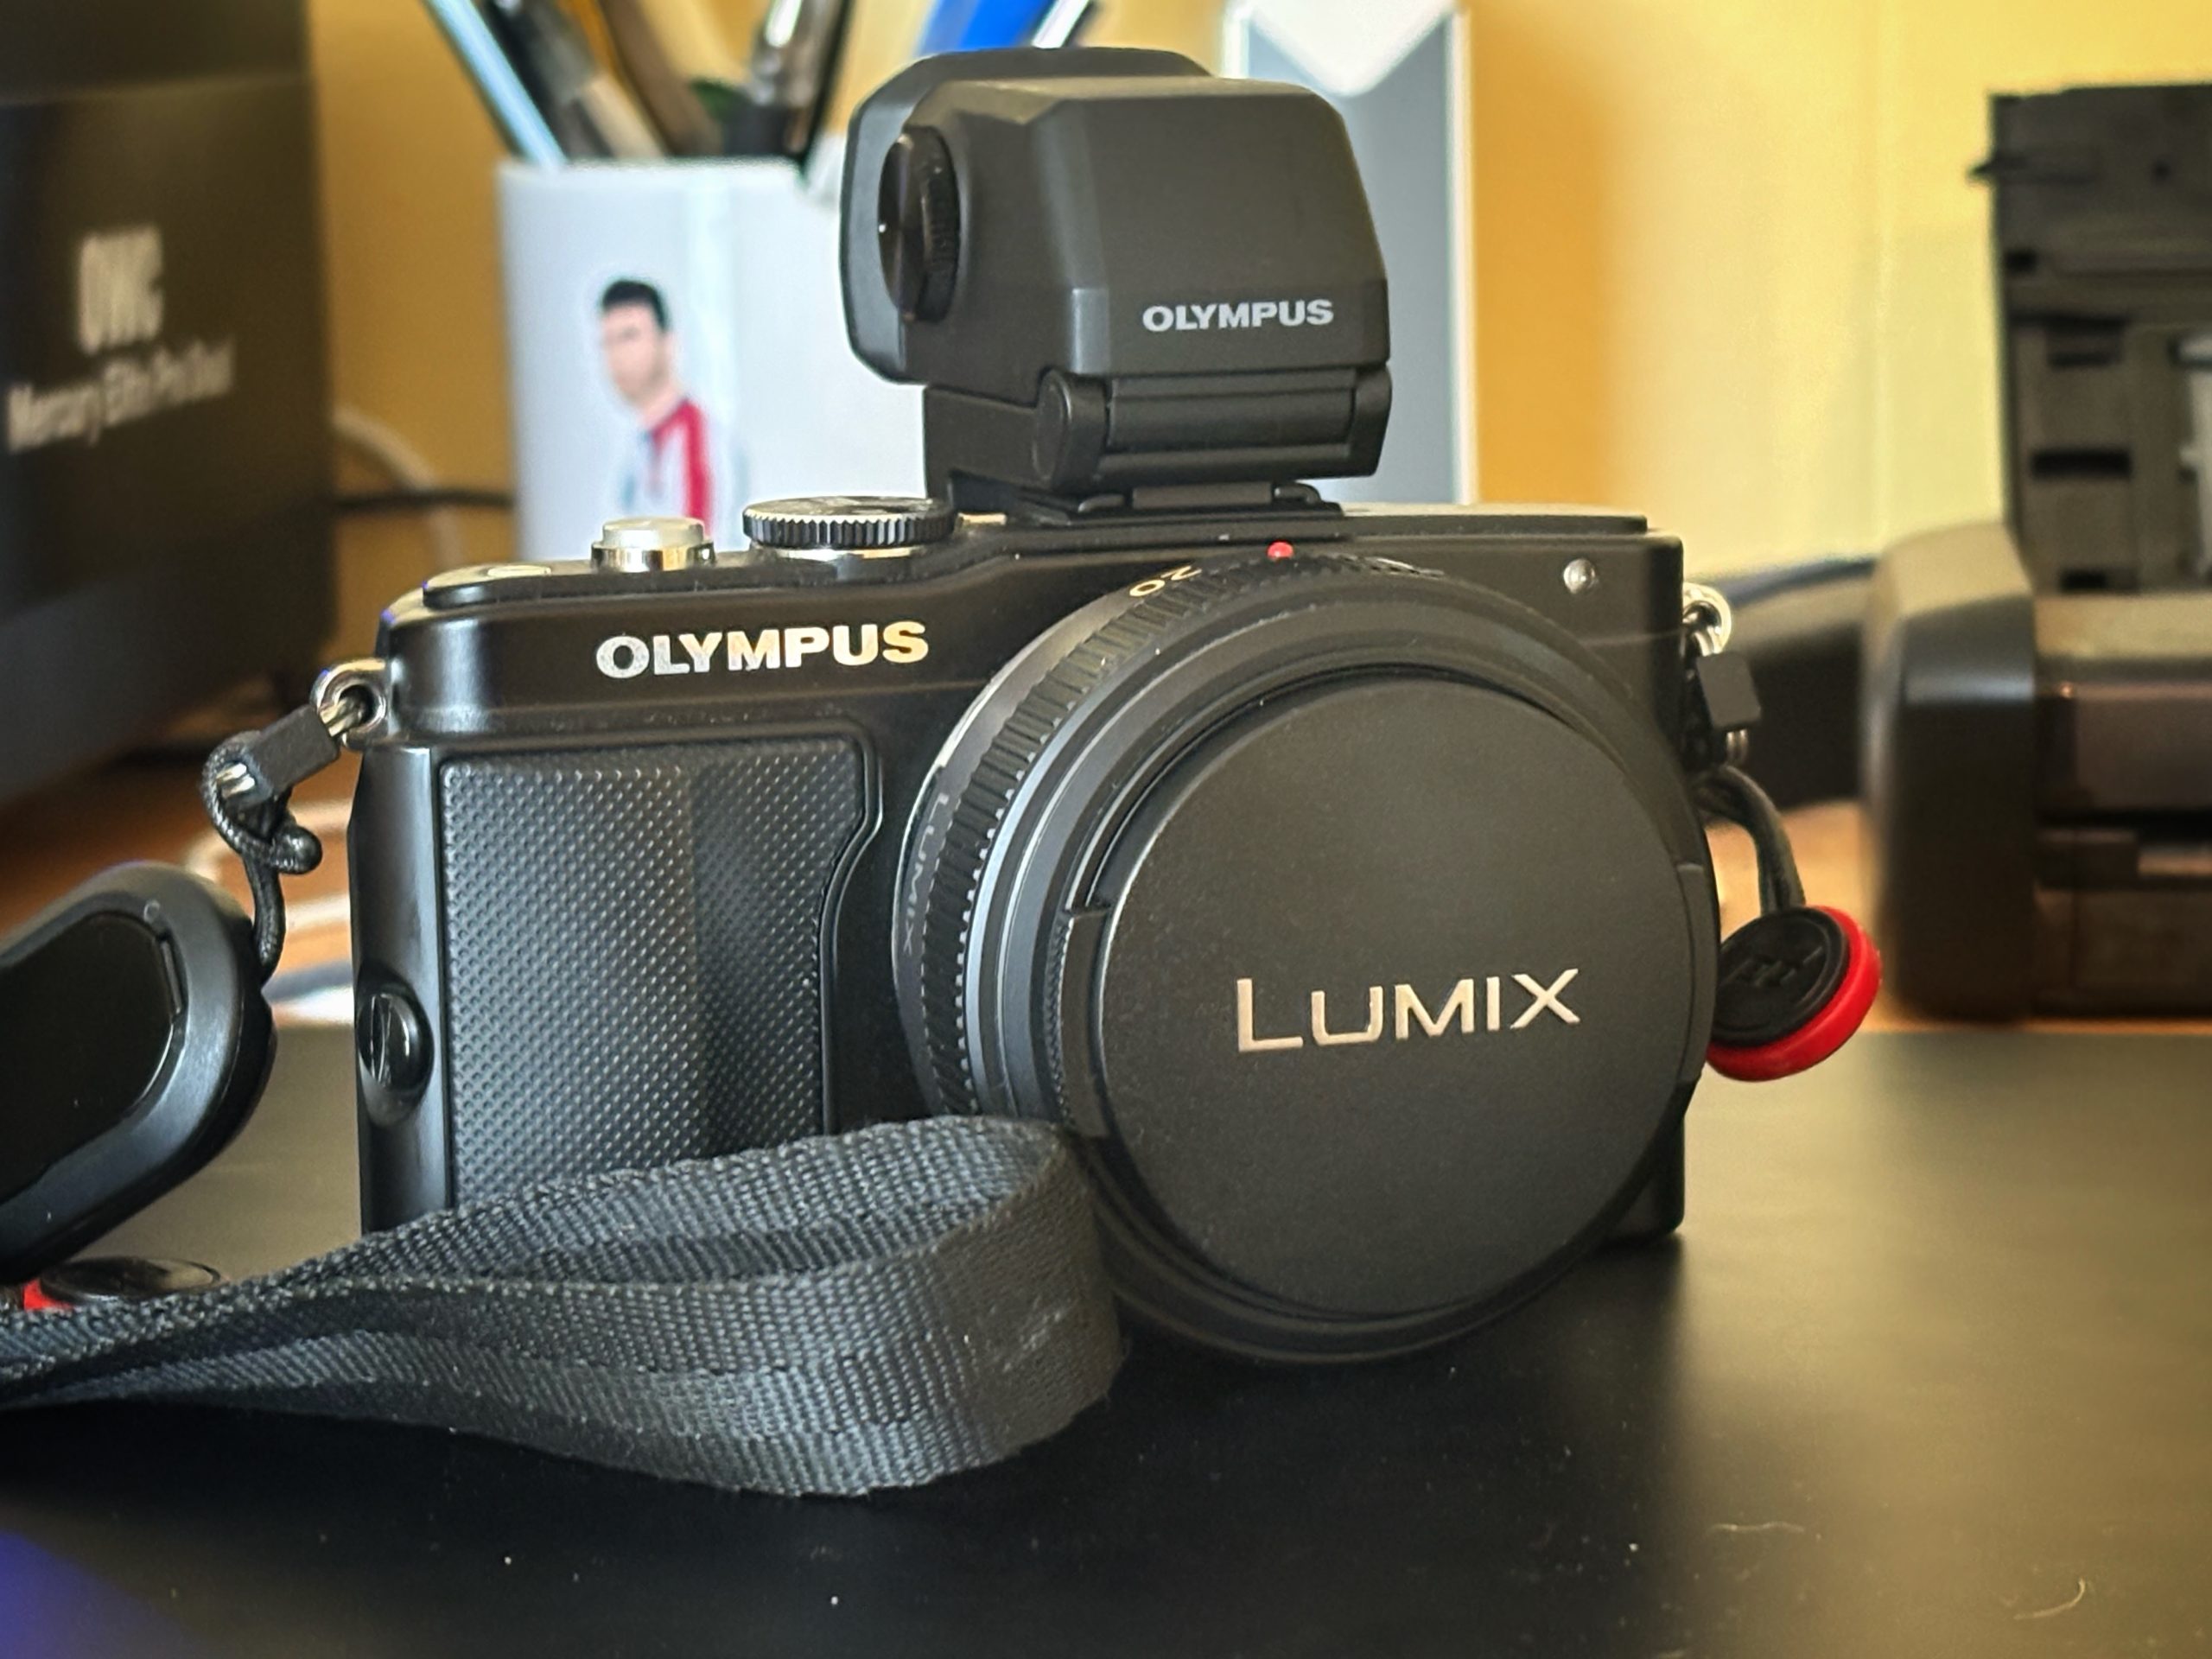
My go-to travel camera is the Ricoh GRiii. But sometimes I want more flexibility than it offers. Which led me to rethink what a small, light interchangeable lens travel kit…
I was hired for my first retail job by a family friend who sold camping gear. He wanted to see if he could sell cameras, too. I was 15, an…
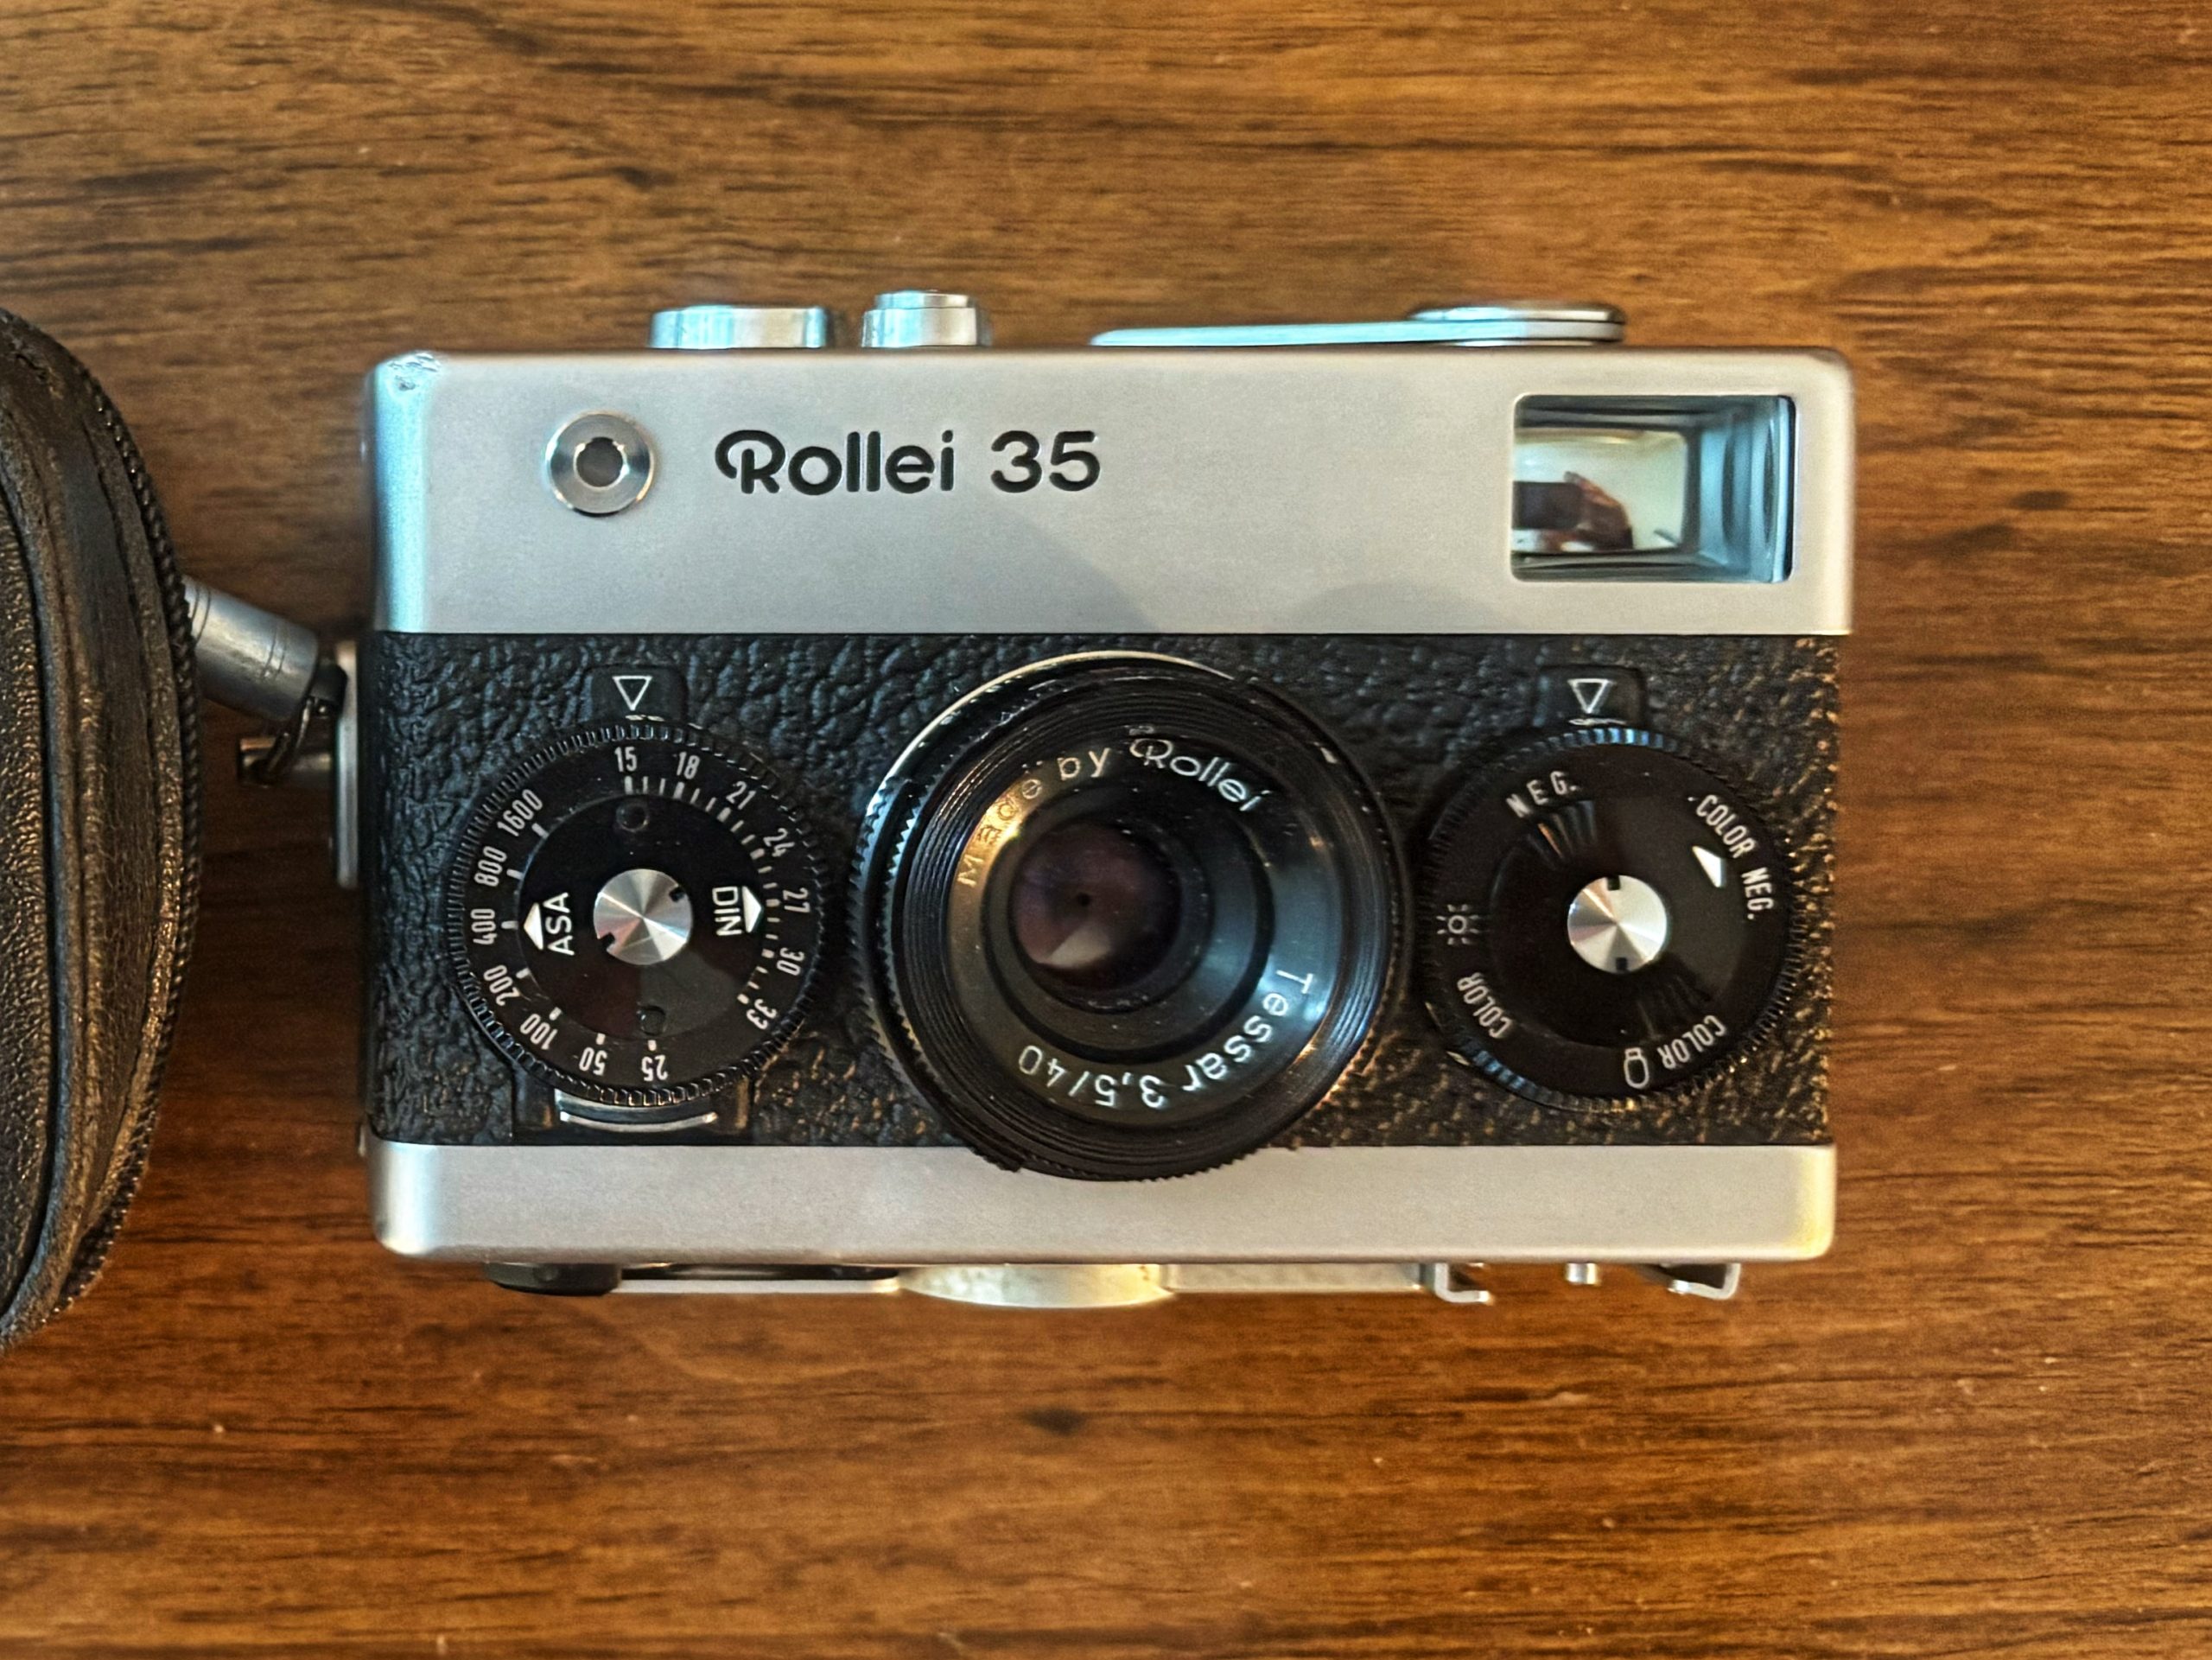
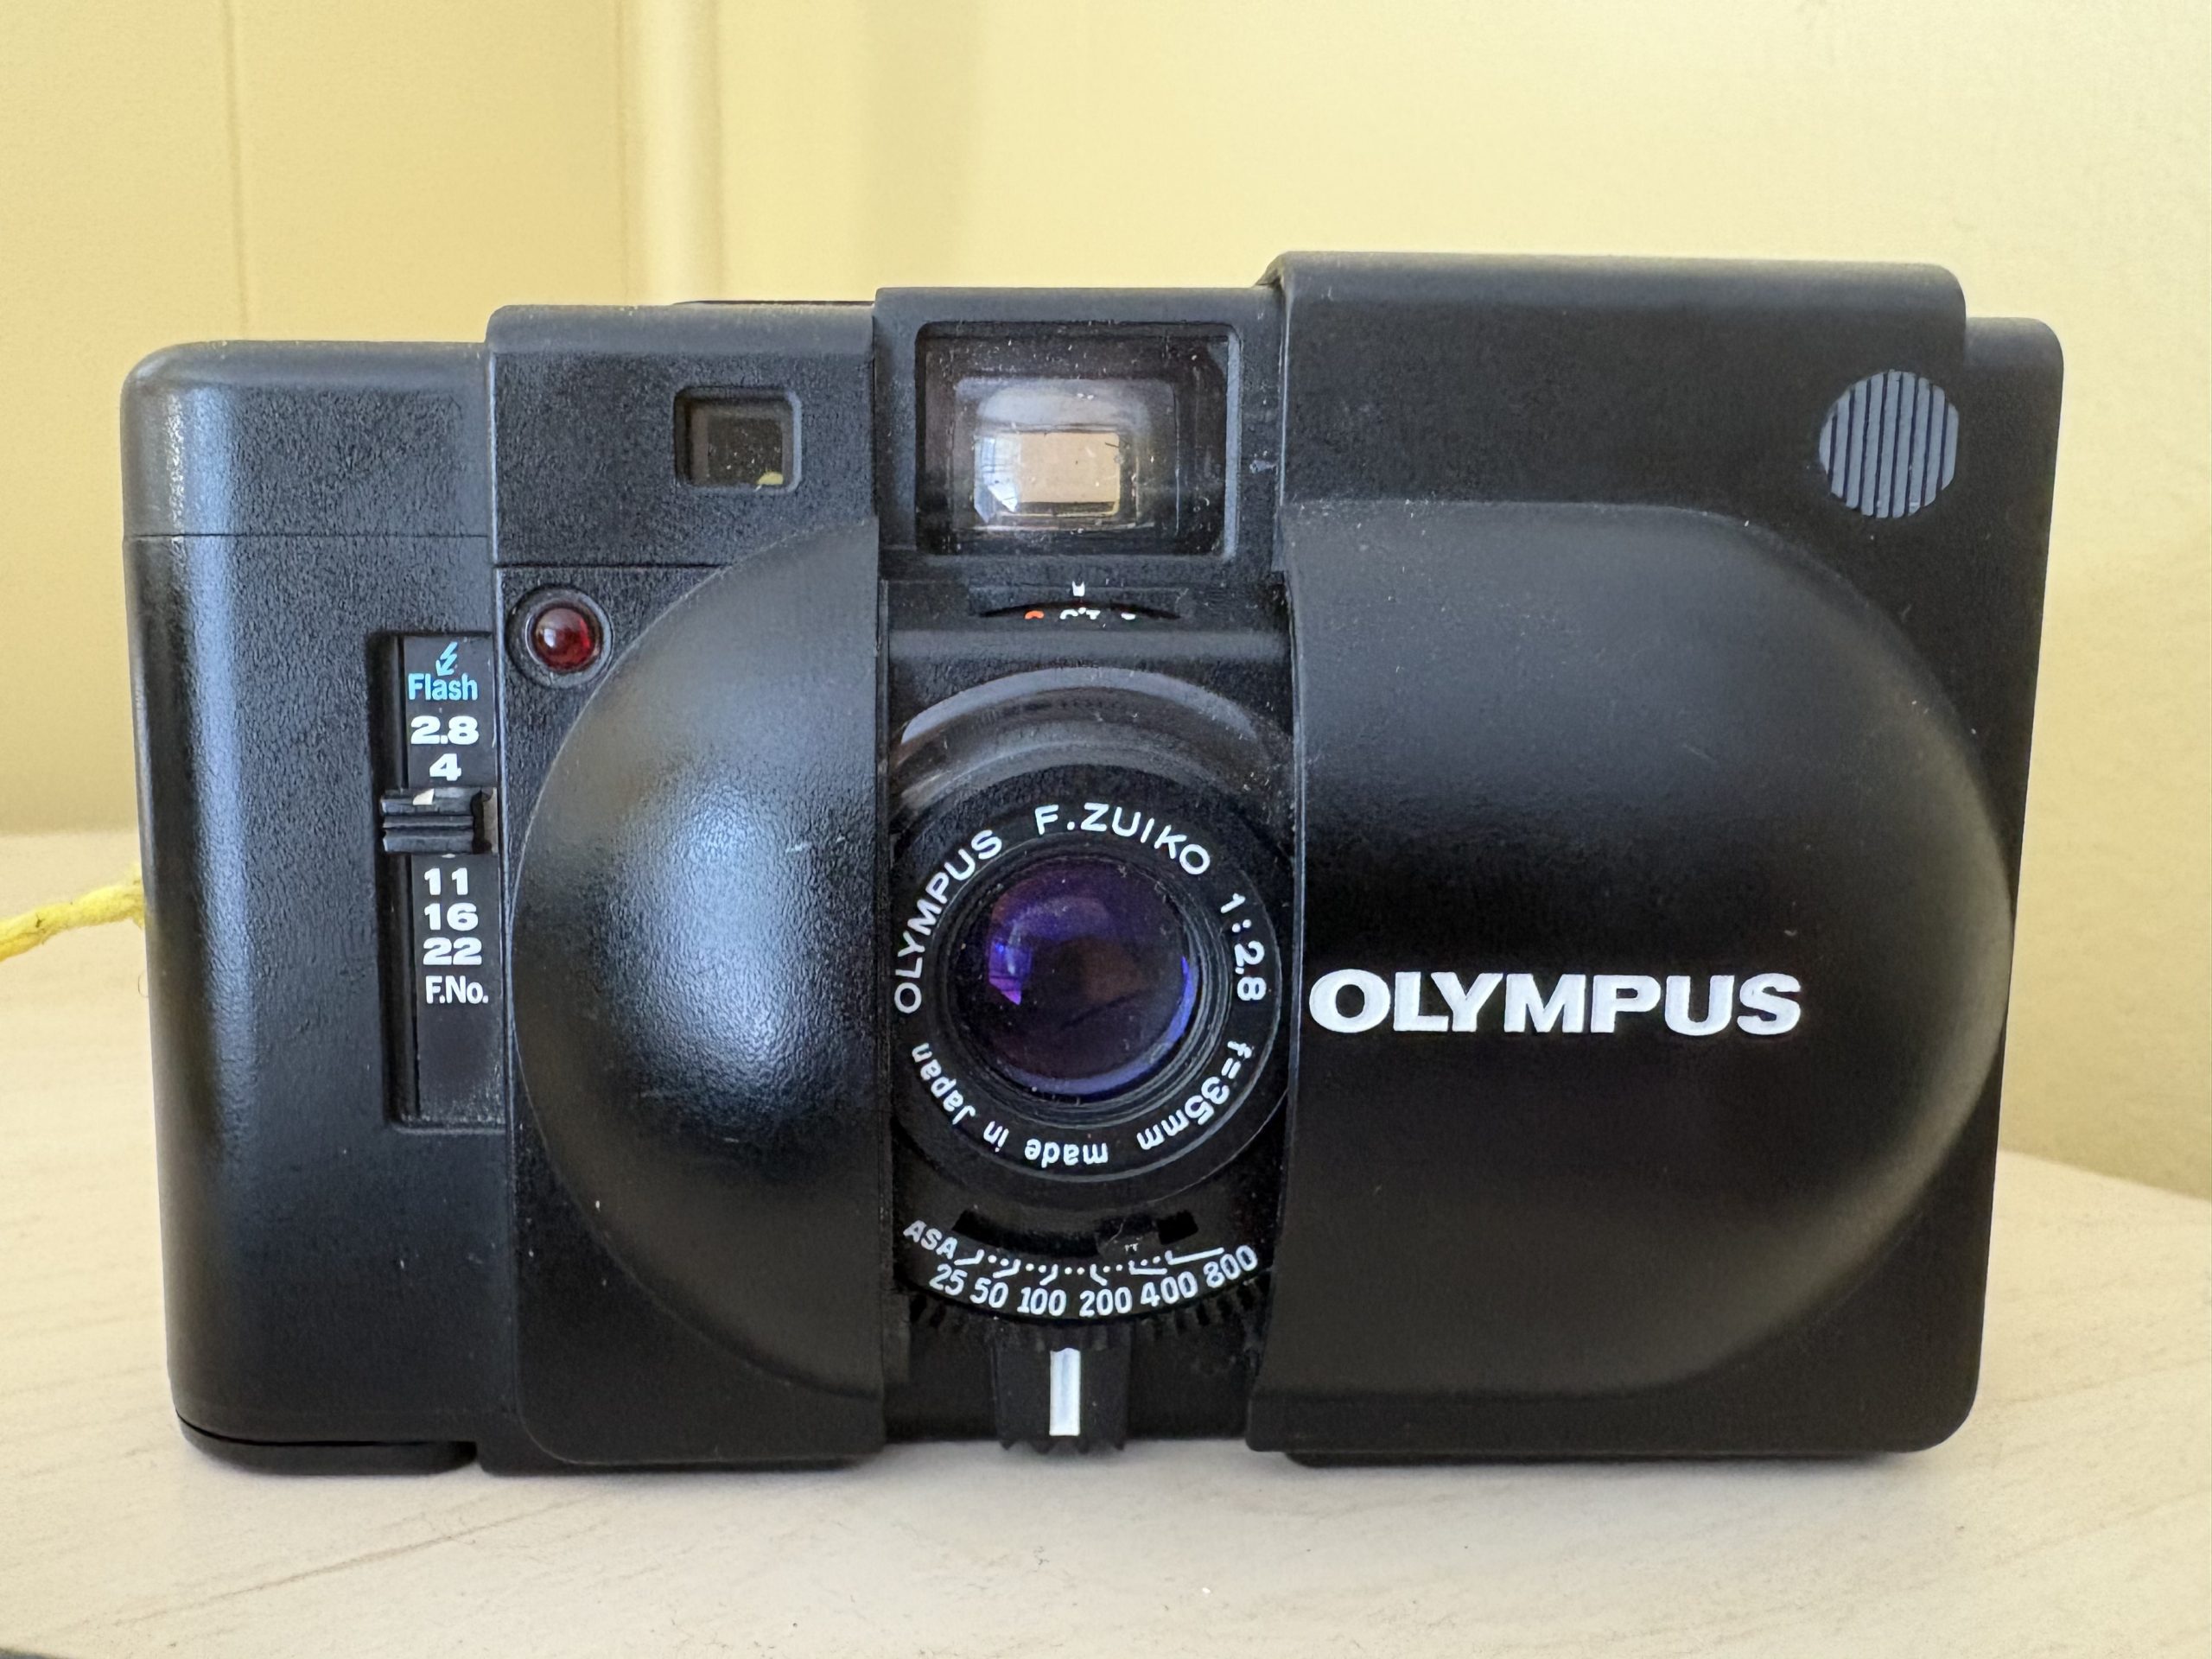
I went through a phase a few months ago when I bought several film cameras at auction. I've tested every one and found some keepers (Olympus XA) and duds (Yashica…
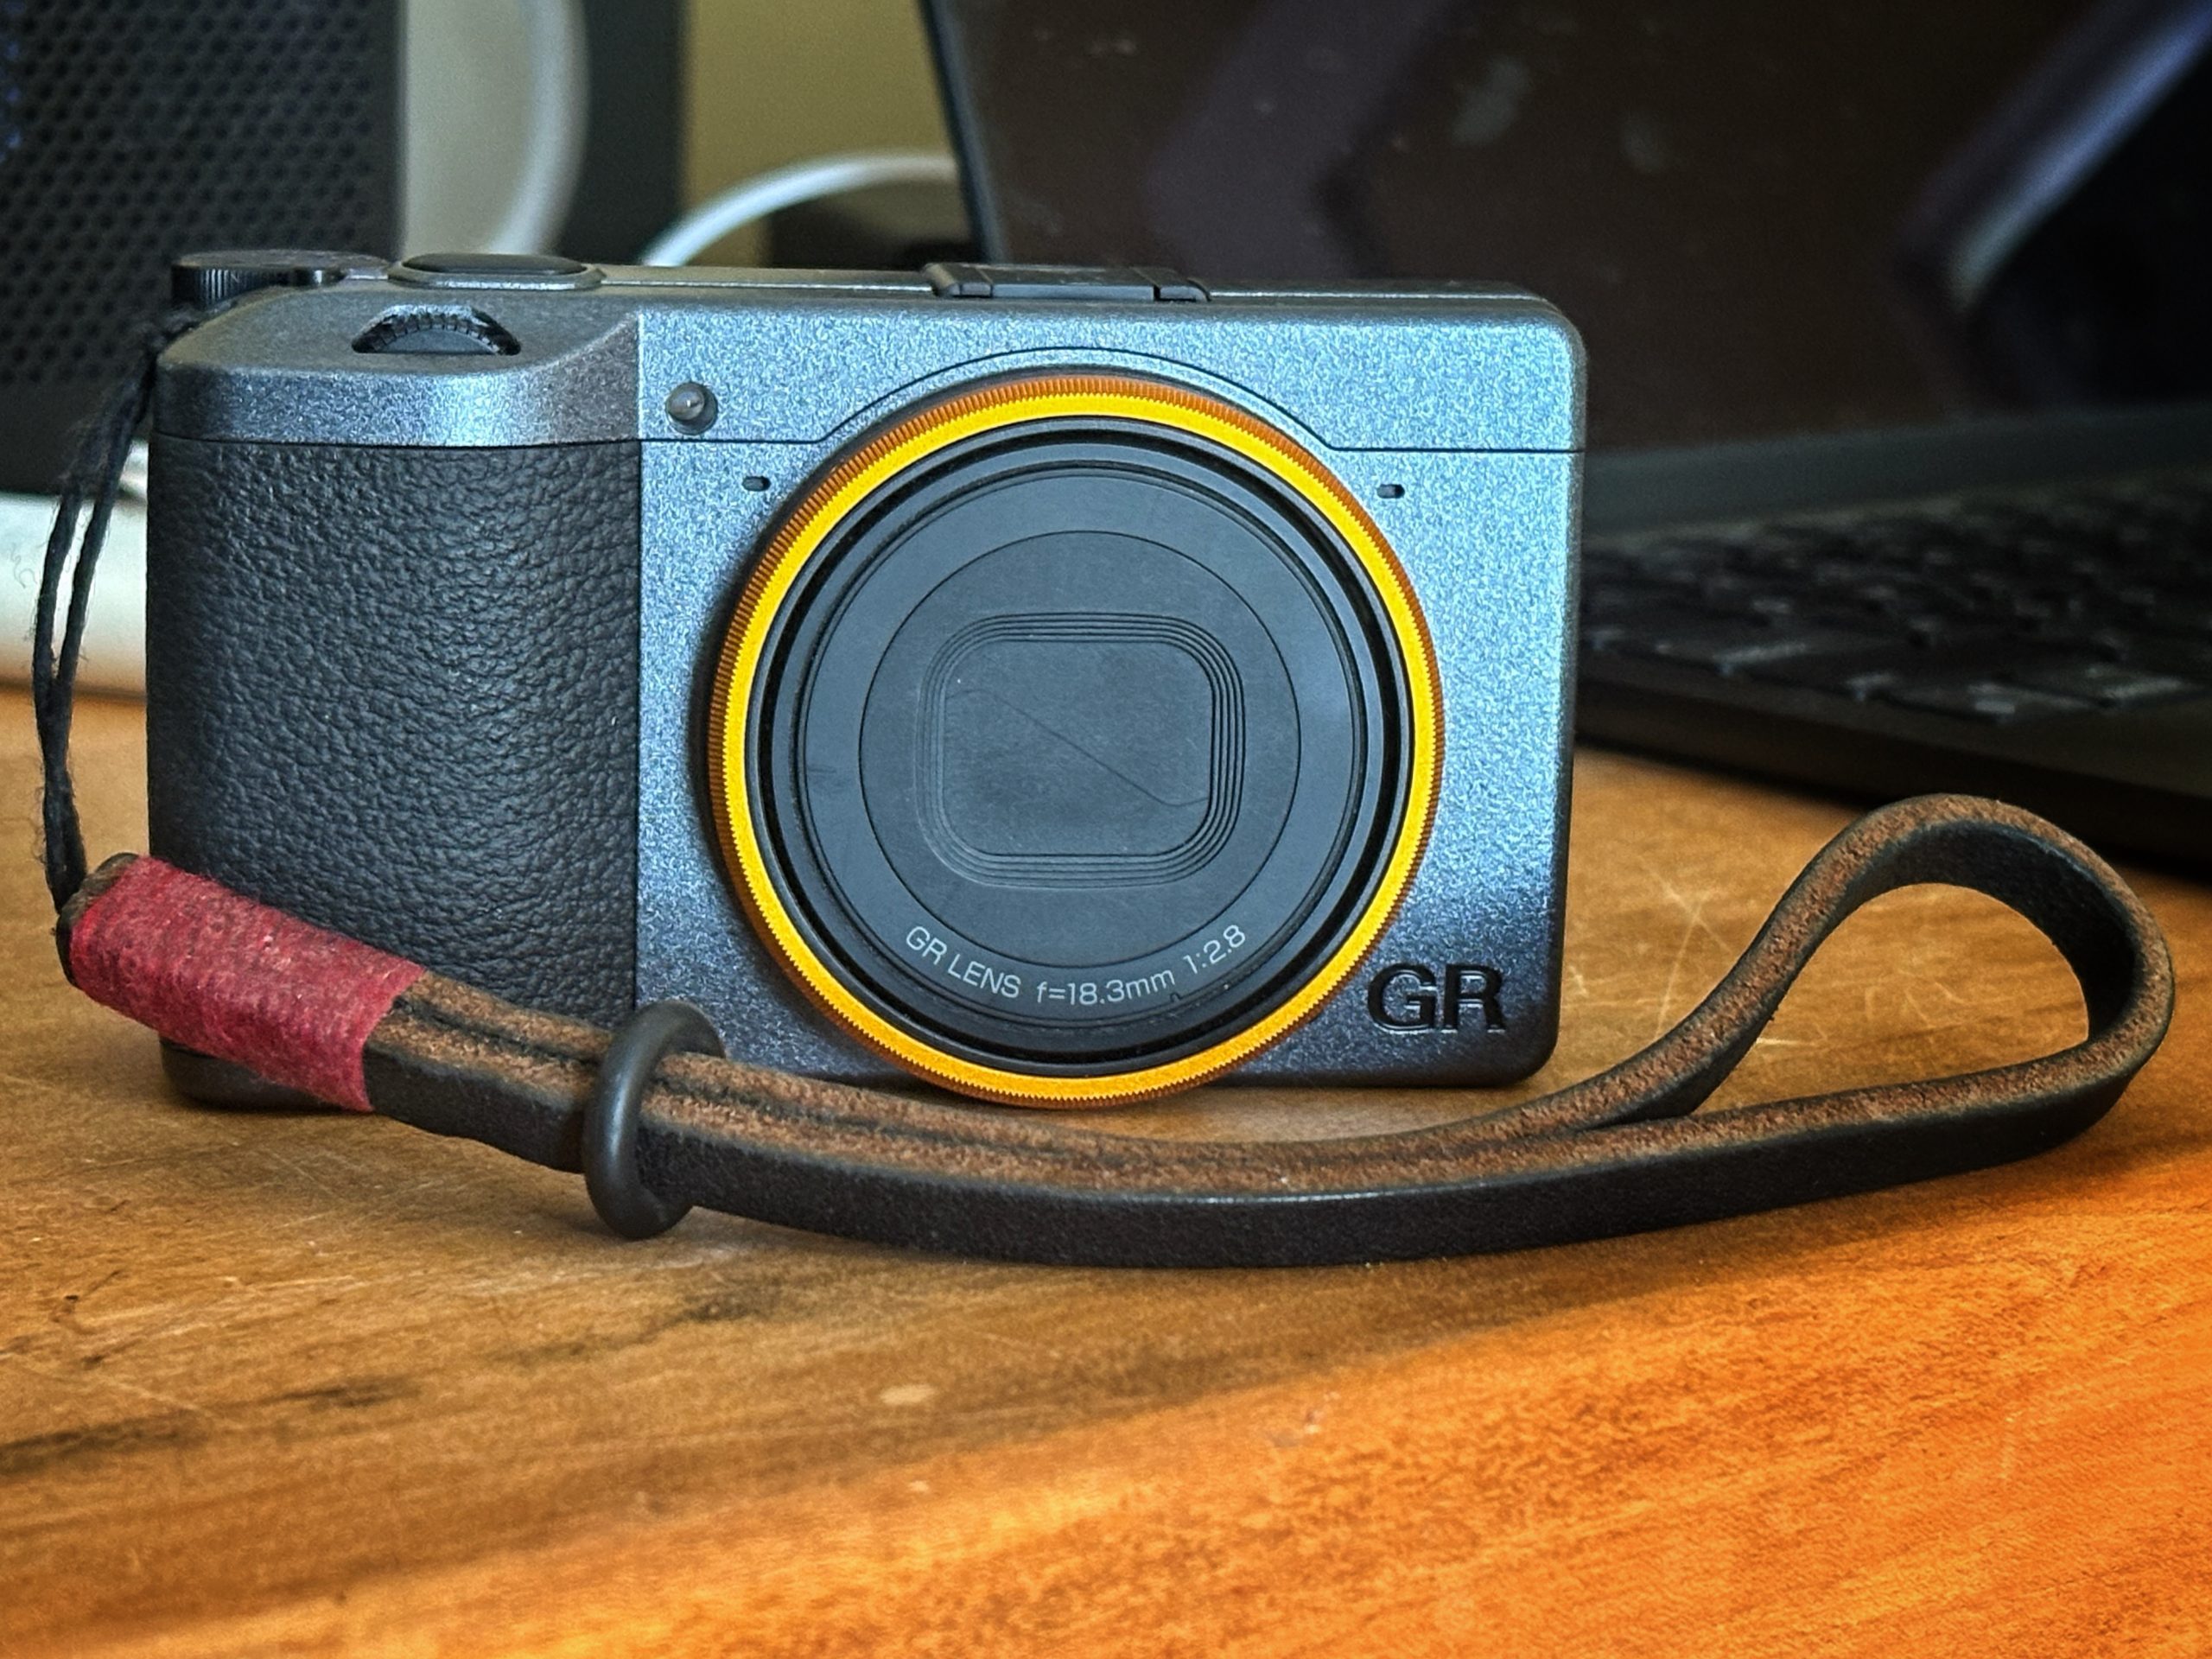
Since 2013, the Ricoh GR has been my favorite travel camera. In 2018, I wrote about why the GR is so wonderful, and my opinion hasn't changed. I have options…
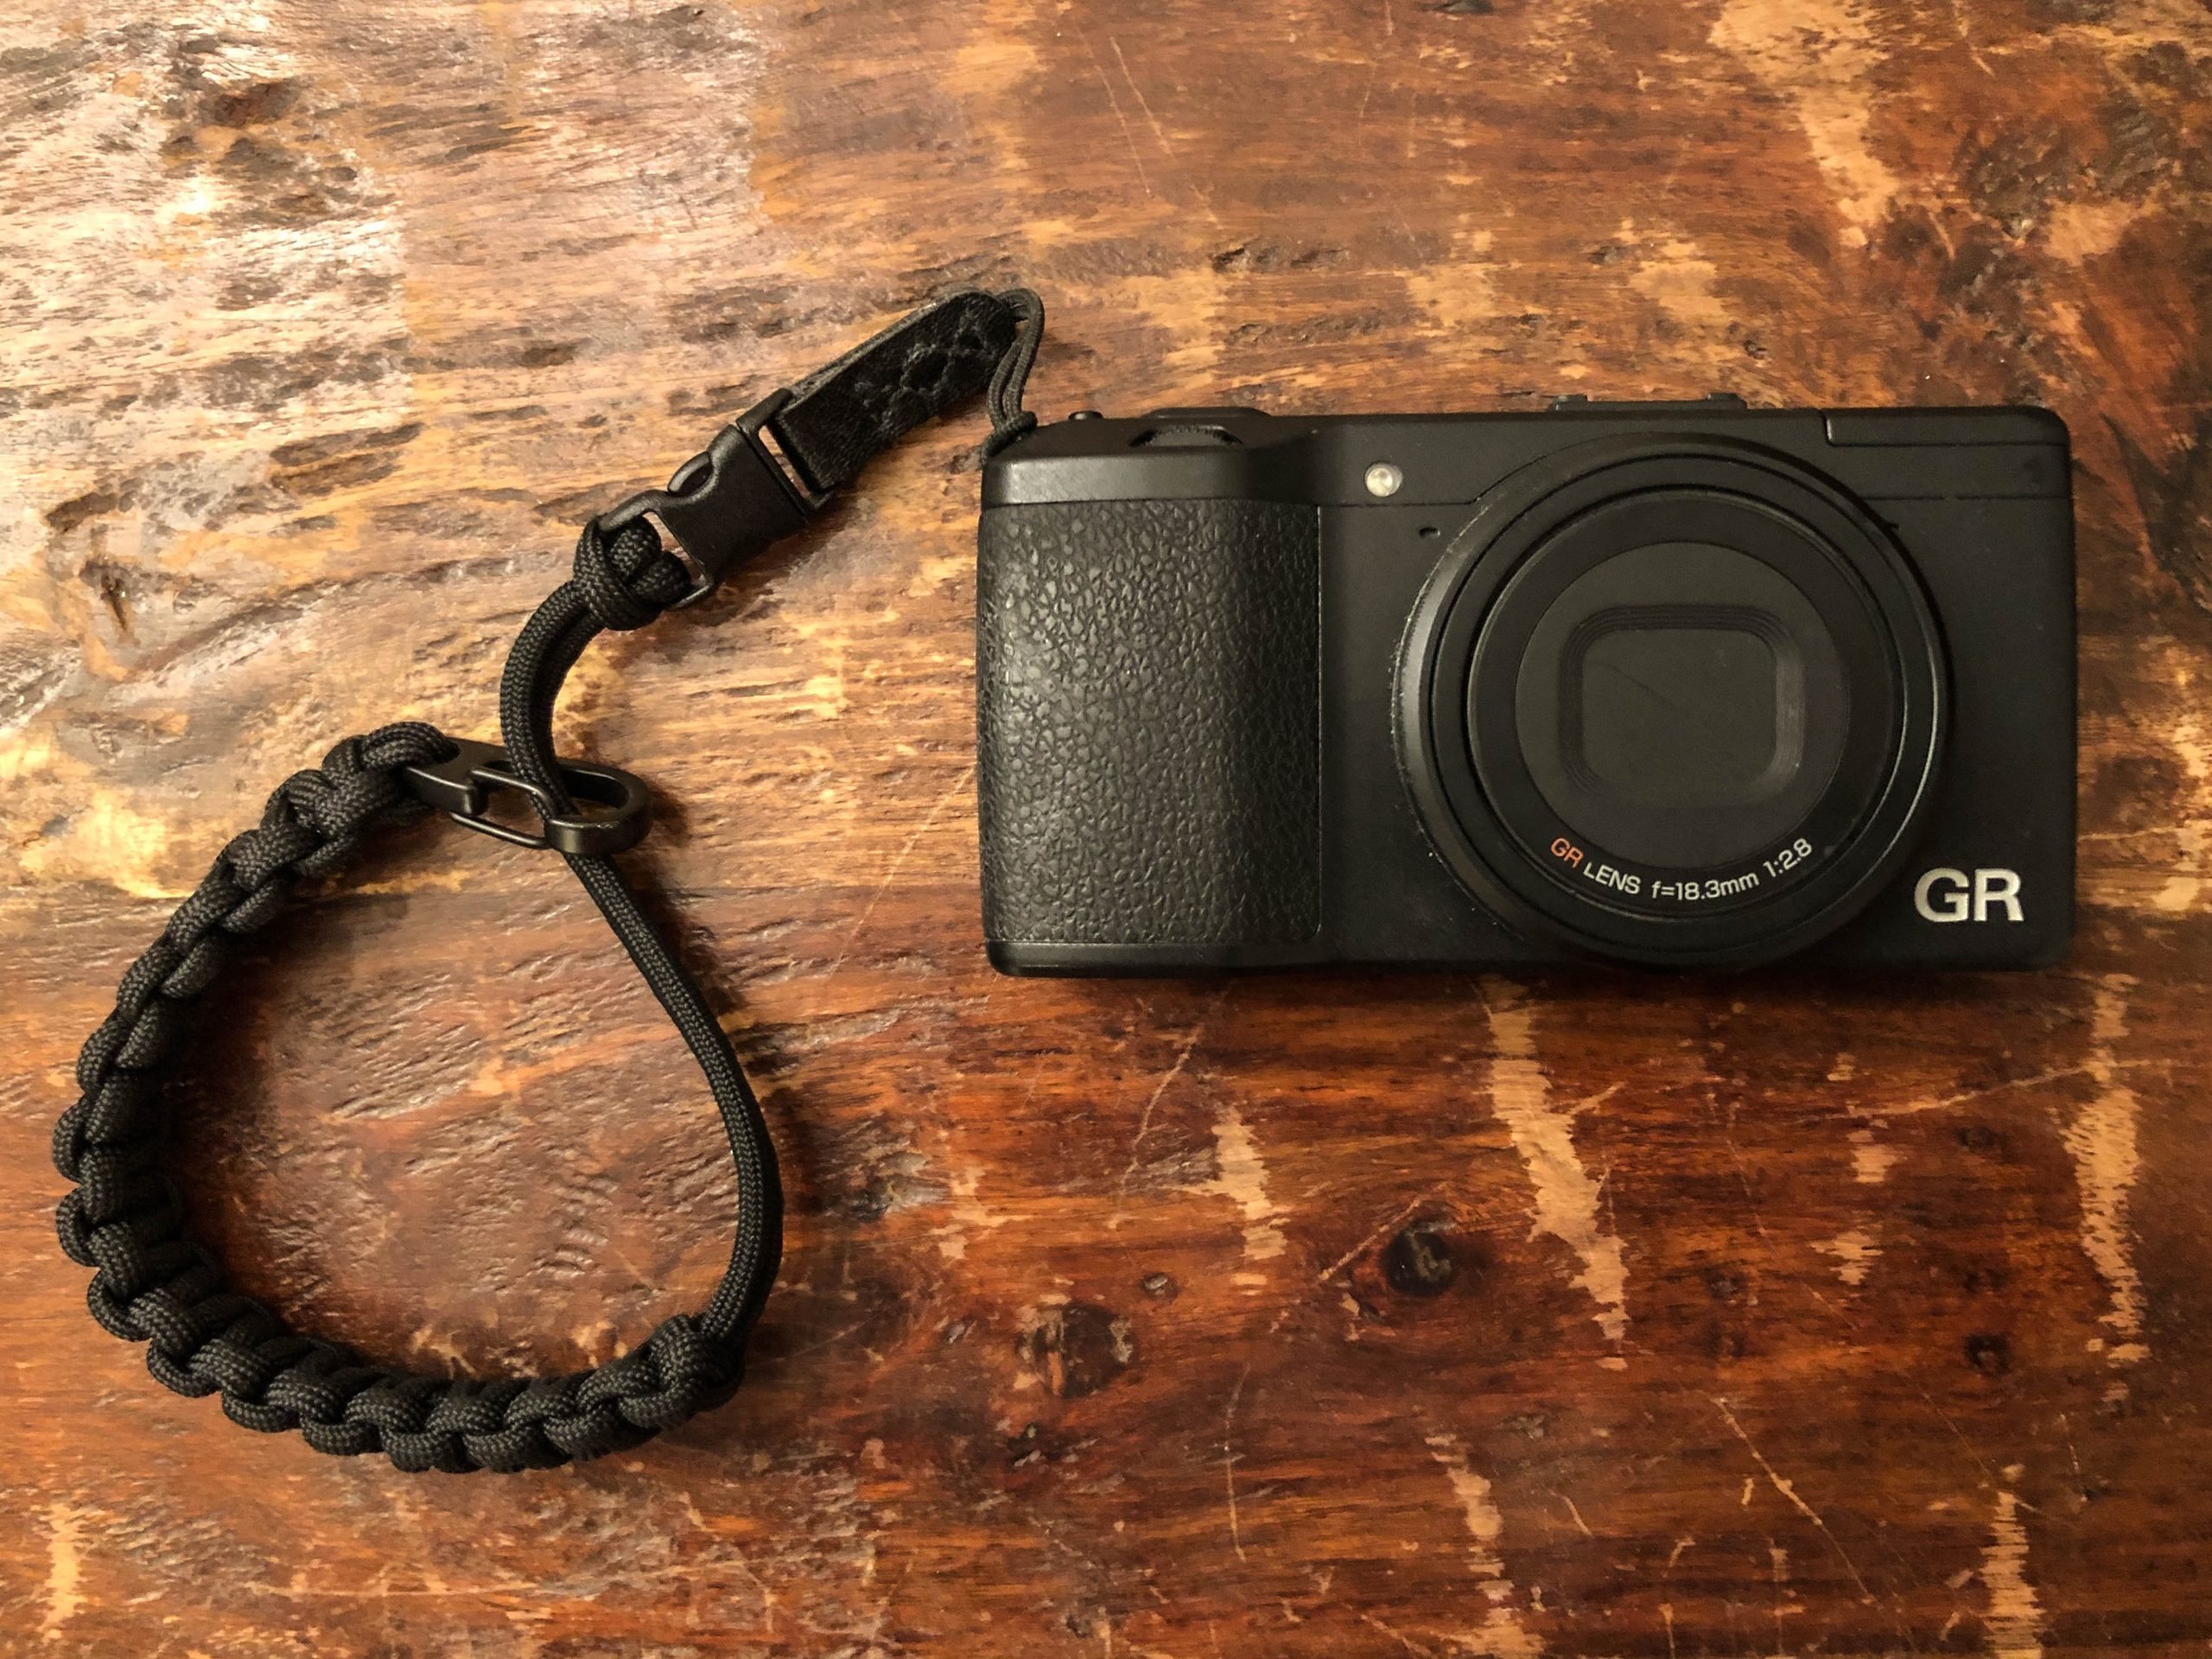
2026 update: There's a market for dead GRs, and I sold mine to partially fund a new GRiii. A review is coming. 2025 update: My GR bit the dust. 2024…
No names, but I once sat through a slideshow of someone's travels that included 300 images. About 50 in, I realized they had dumped their memory card and included every,…